Active Travel#
Active Travel in PIC2BIM shows how routes such as heritage trails, cycling paths, or nature walks can be planned and recorded.
It demonstrates route planning with geotagged photos and path recording, but is not currently integrated into the PIC2BIM platform.
This could become a feature in the future roadmap.
👉 For an overview of PIC2BIM and its core features, see the Introduction.
1. Create a Route#
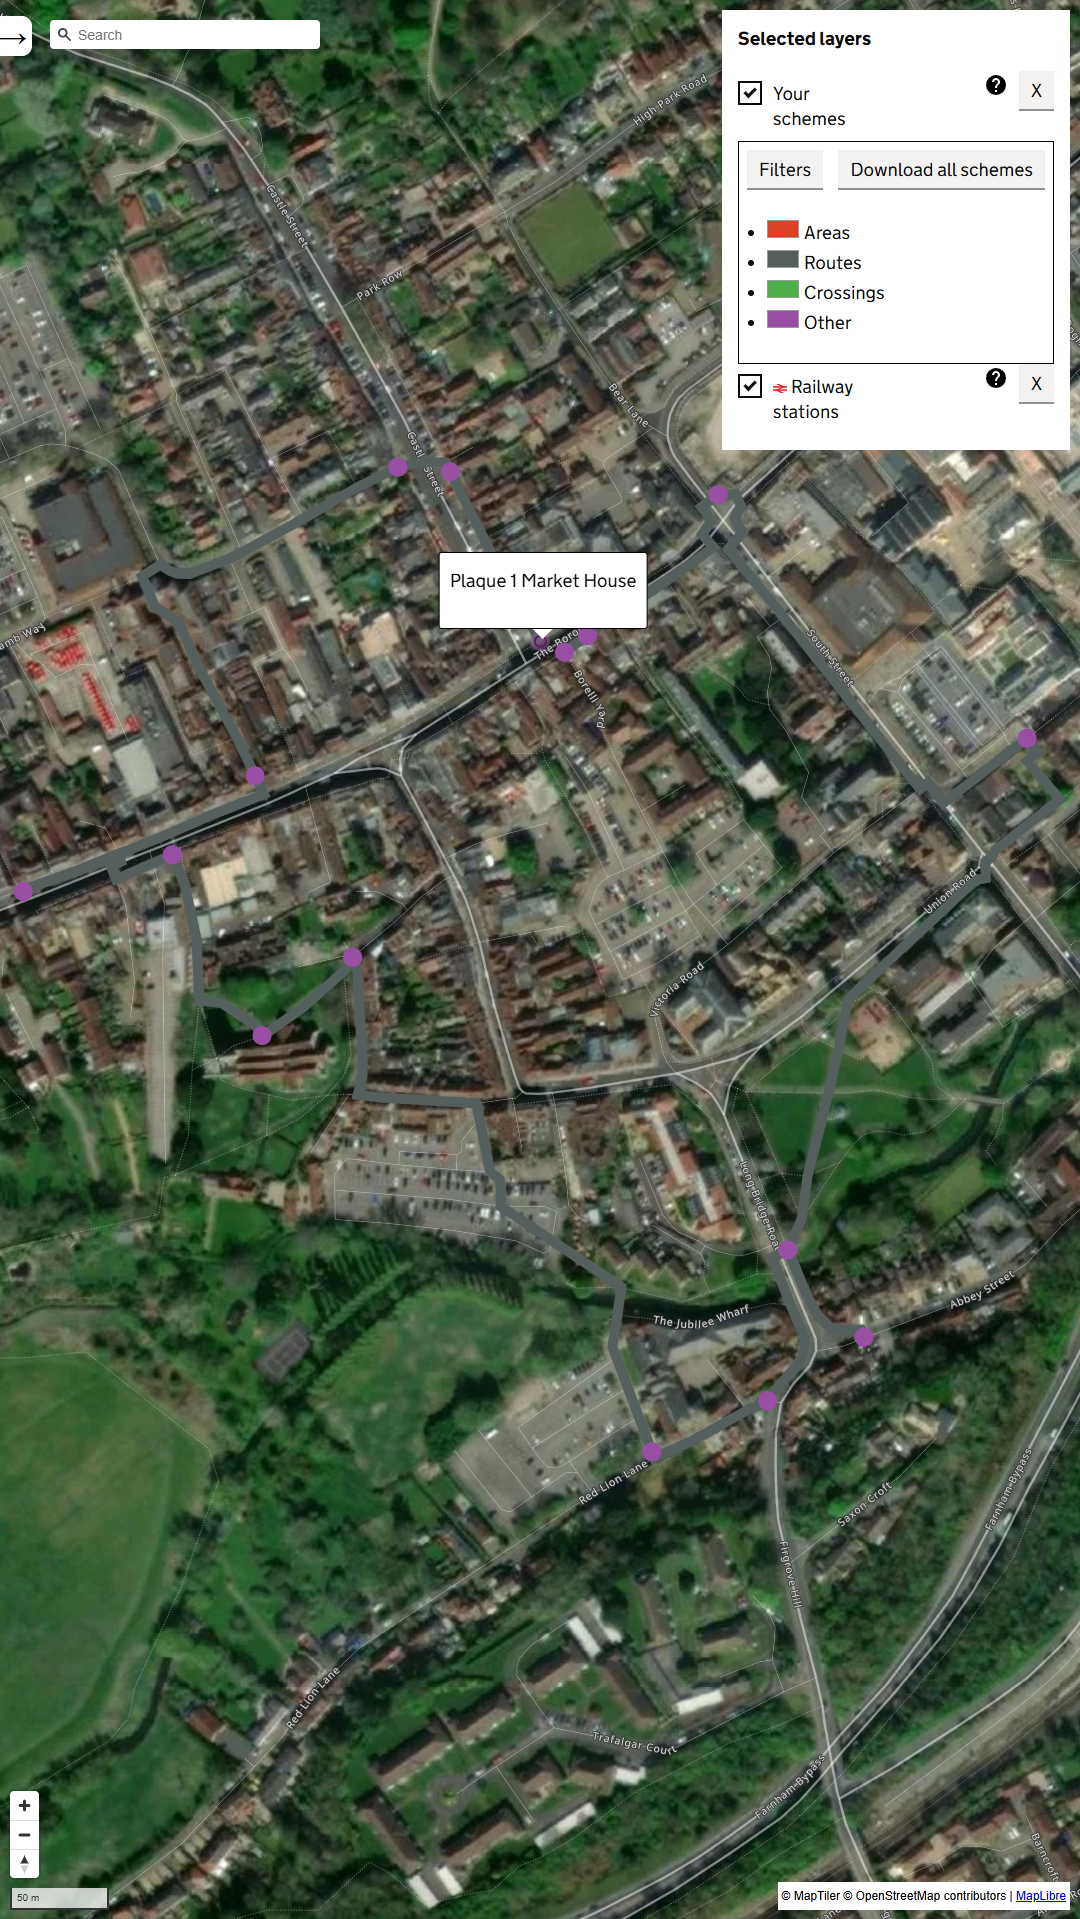
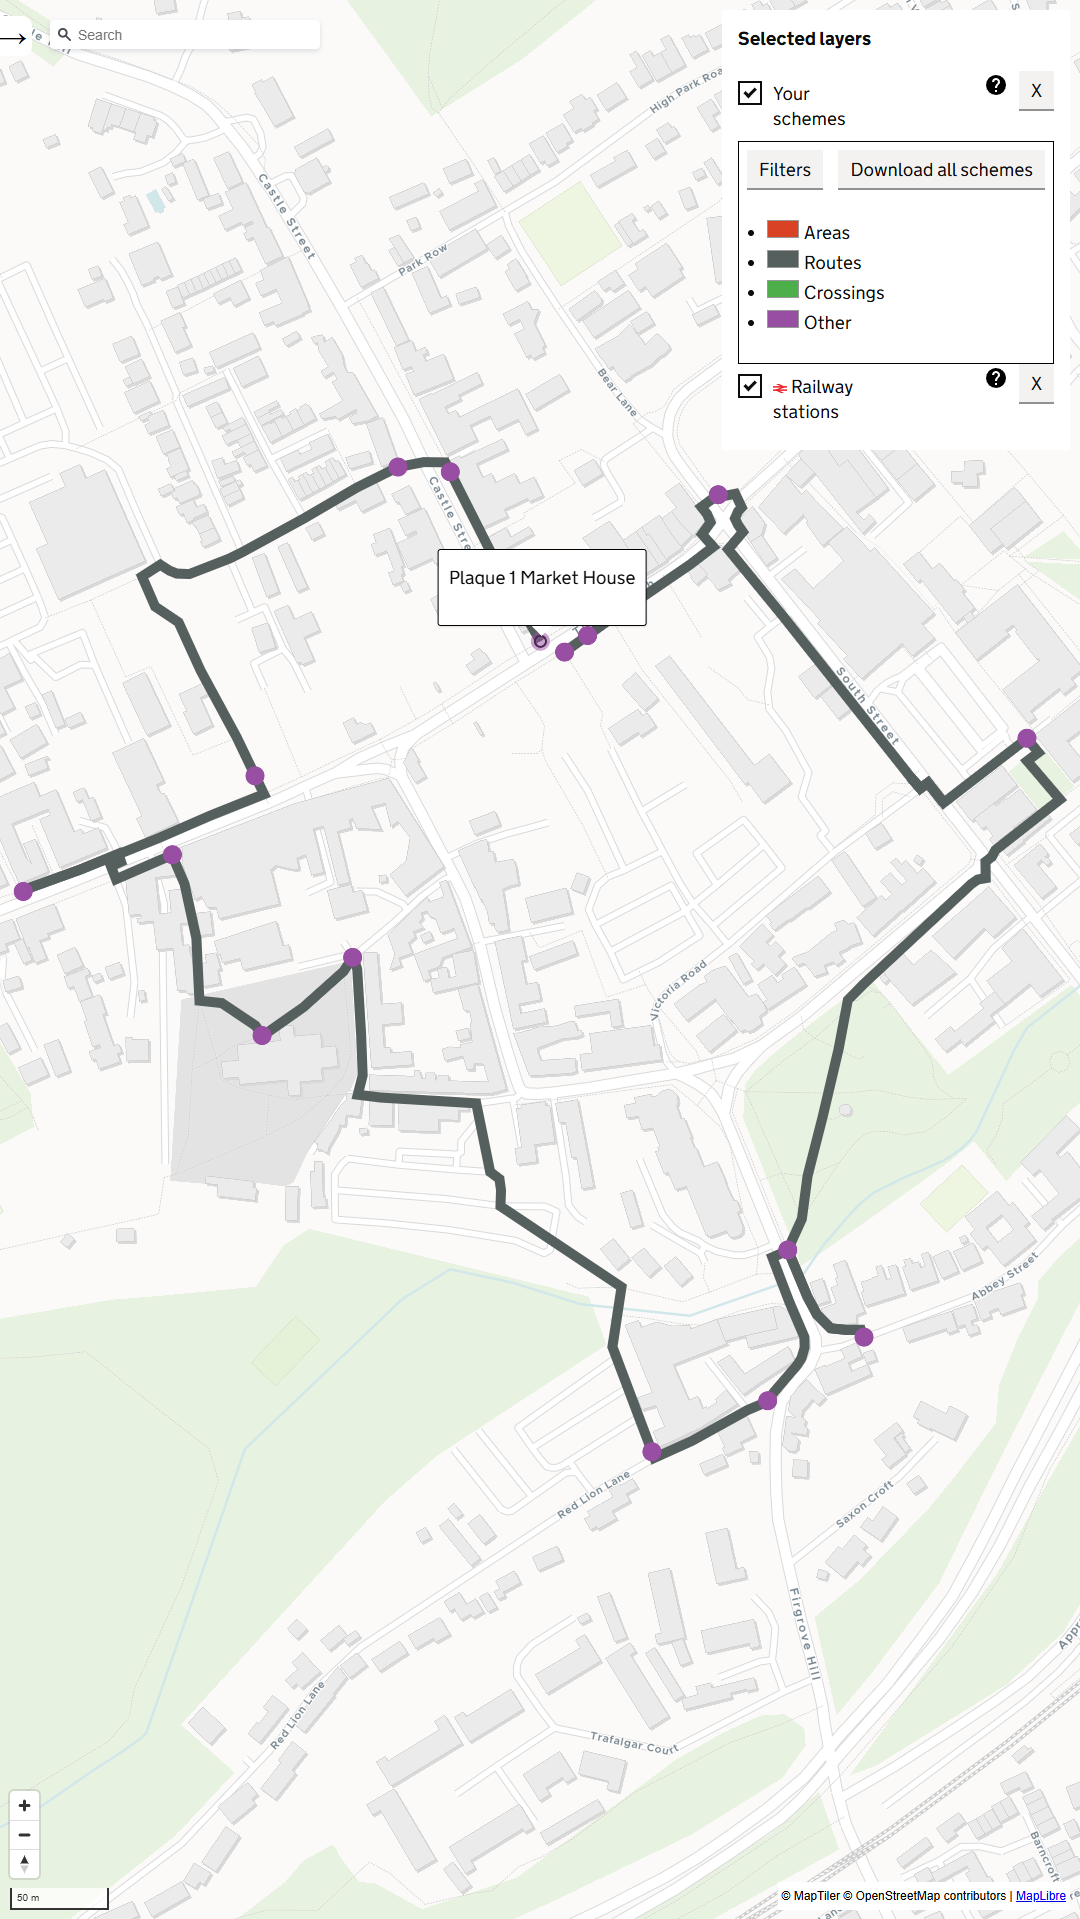
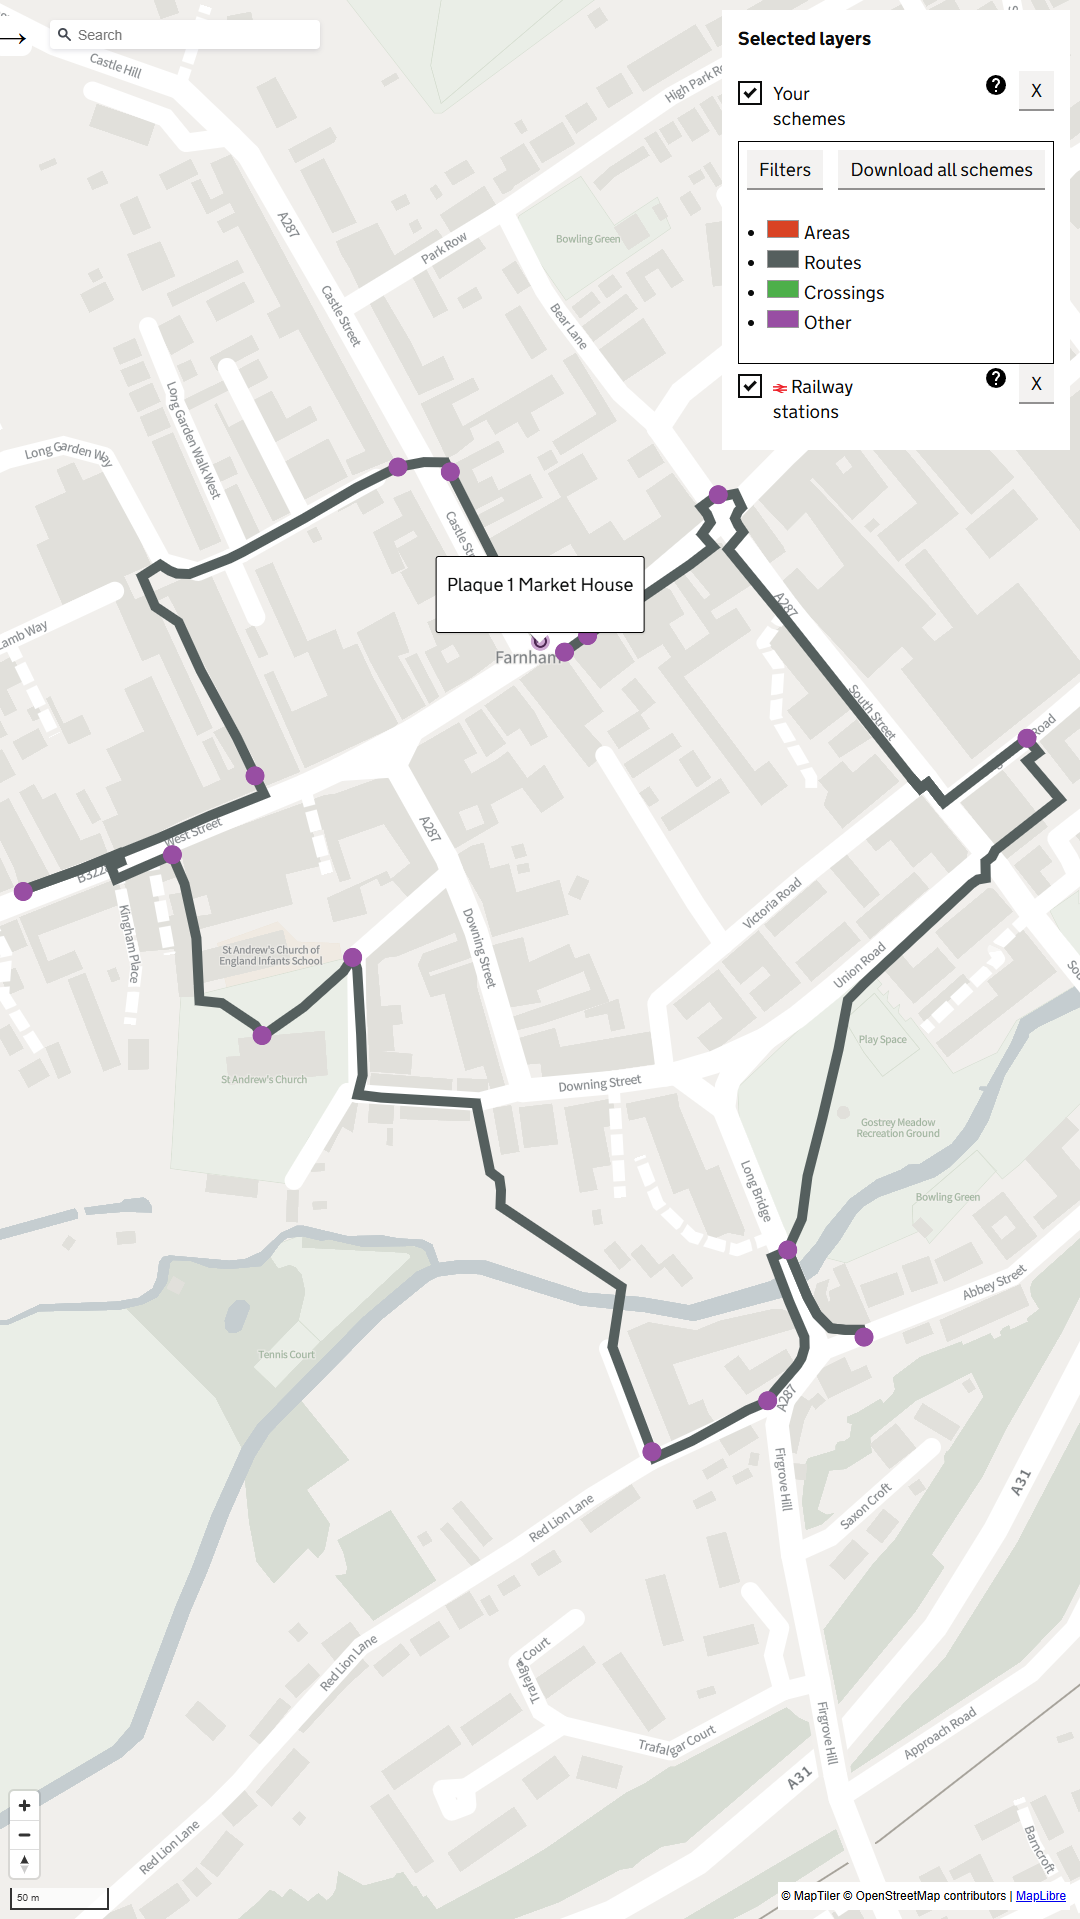
Use the Active Travel Scheme Sketcher to design your trail.
Example: Farnham Heritage Trail.
Example views of a planned route:
➡ Example GeoJSON file (load directly into Scheme Sketcher).
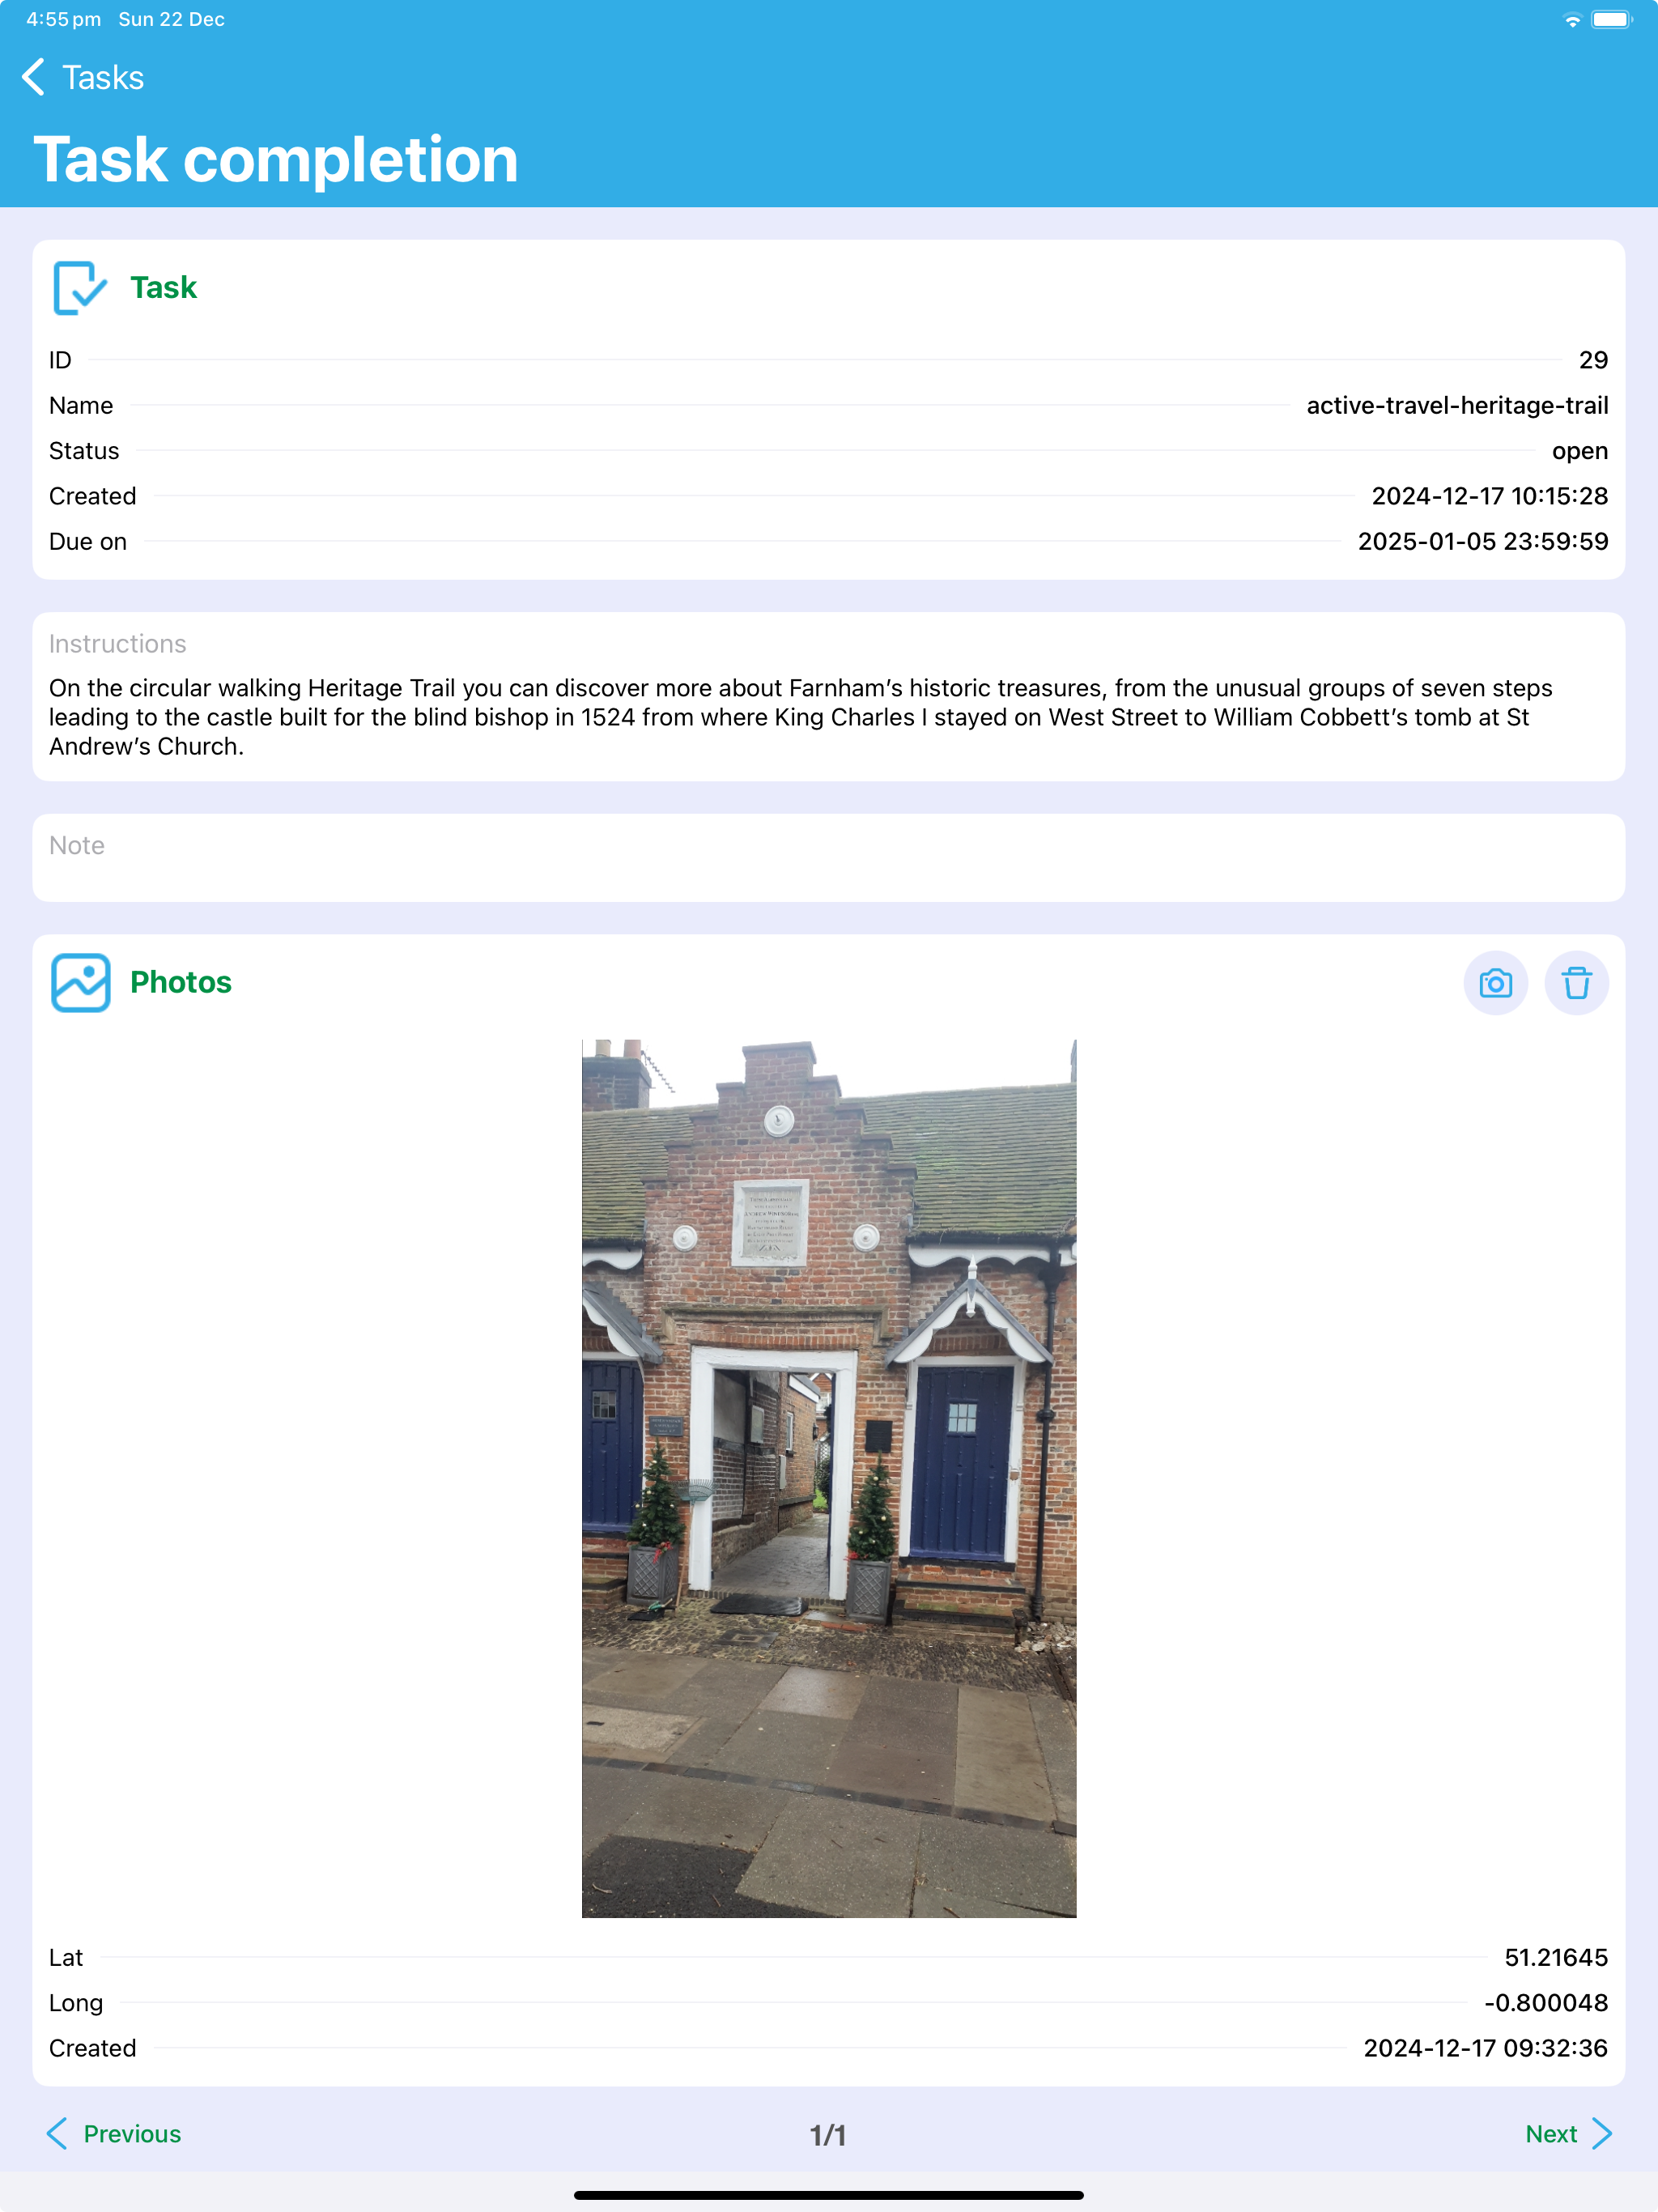
2. Record Your Route Onsite#
Open the PIC2BIM Mobile App and use Tasks to begin recording your path with geotagged photos.

3. Map View#
The Map screen shows:
- Photos (grouped by task or standalone)
- Recorded or live-tracked paths
- Your current position (blue dot)
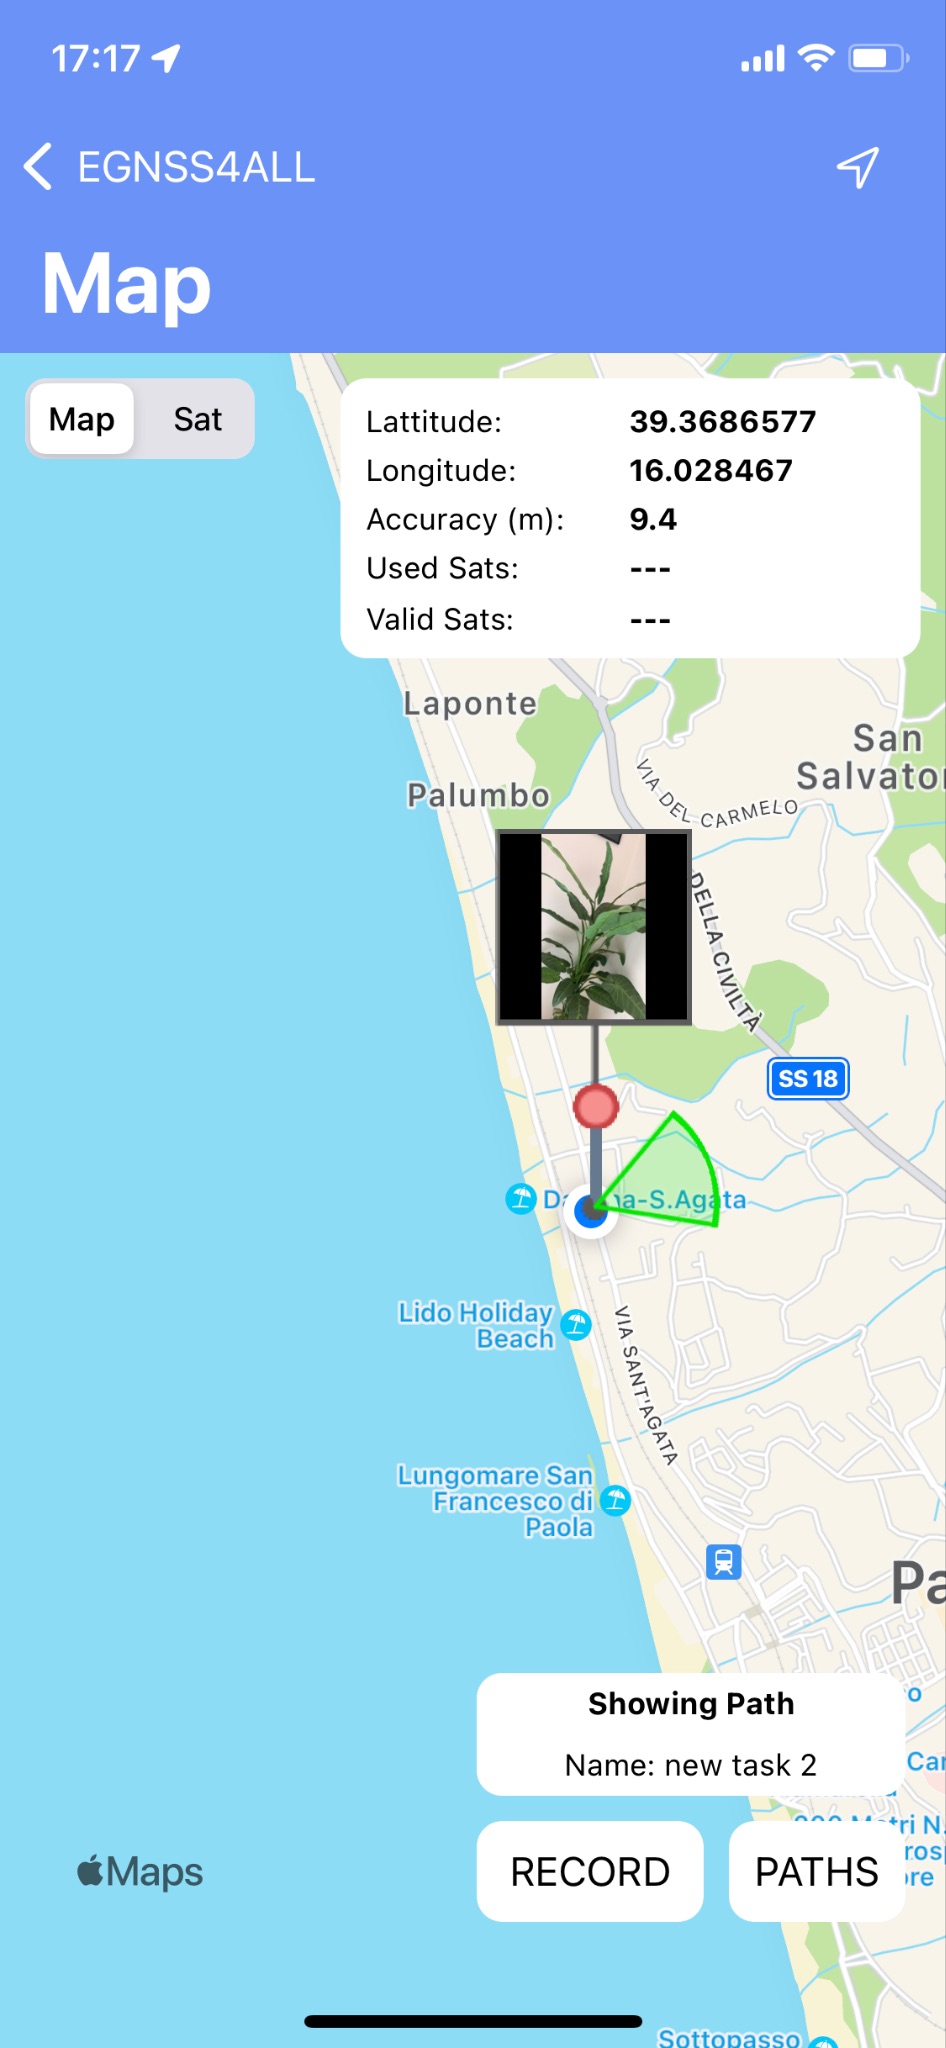
- Switch between satellite and map view.
- Each photo appears as a black dot with its azimuth (green circle).
- Click RECORD to start logging a path (points every ~1s).
- Use STOP to finish; the path is drawn as a polygon.
- Use PATHS to view or redraw past recordings.
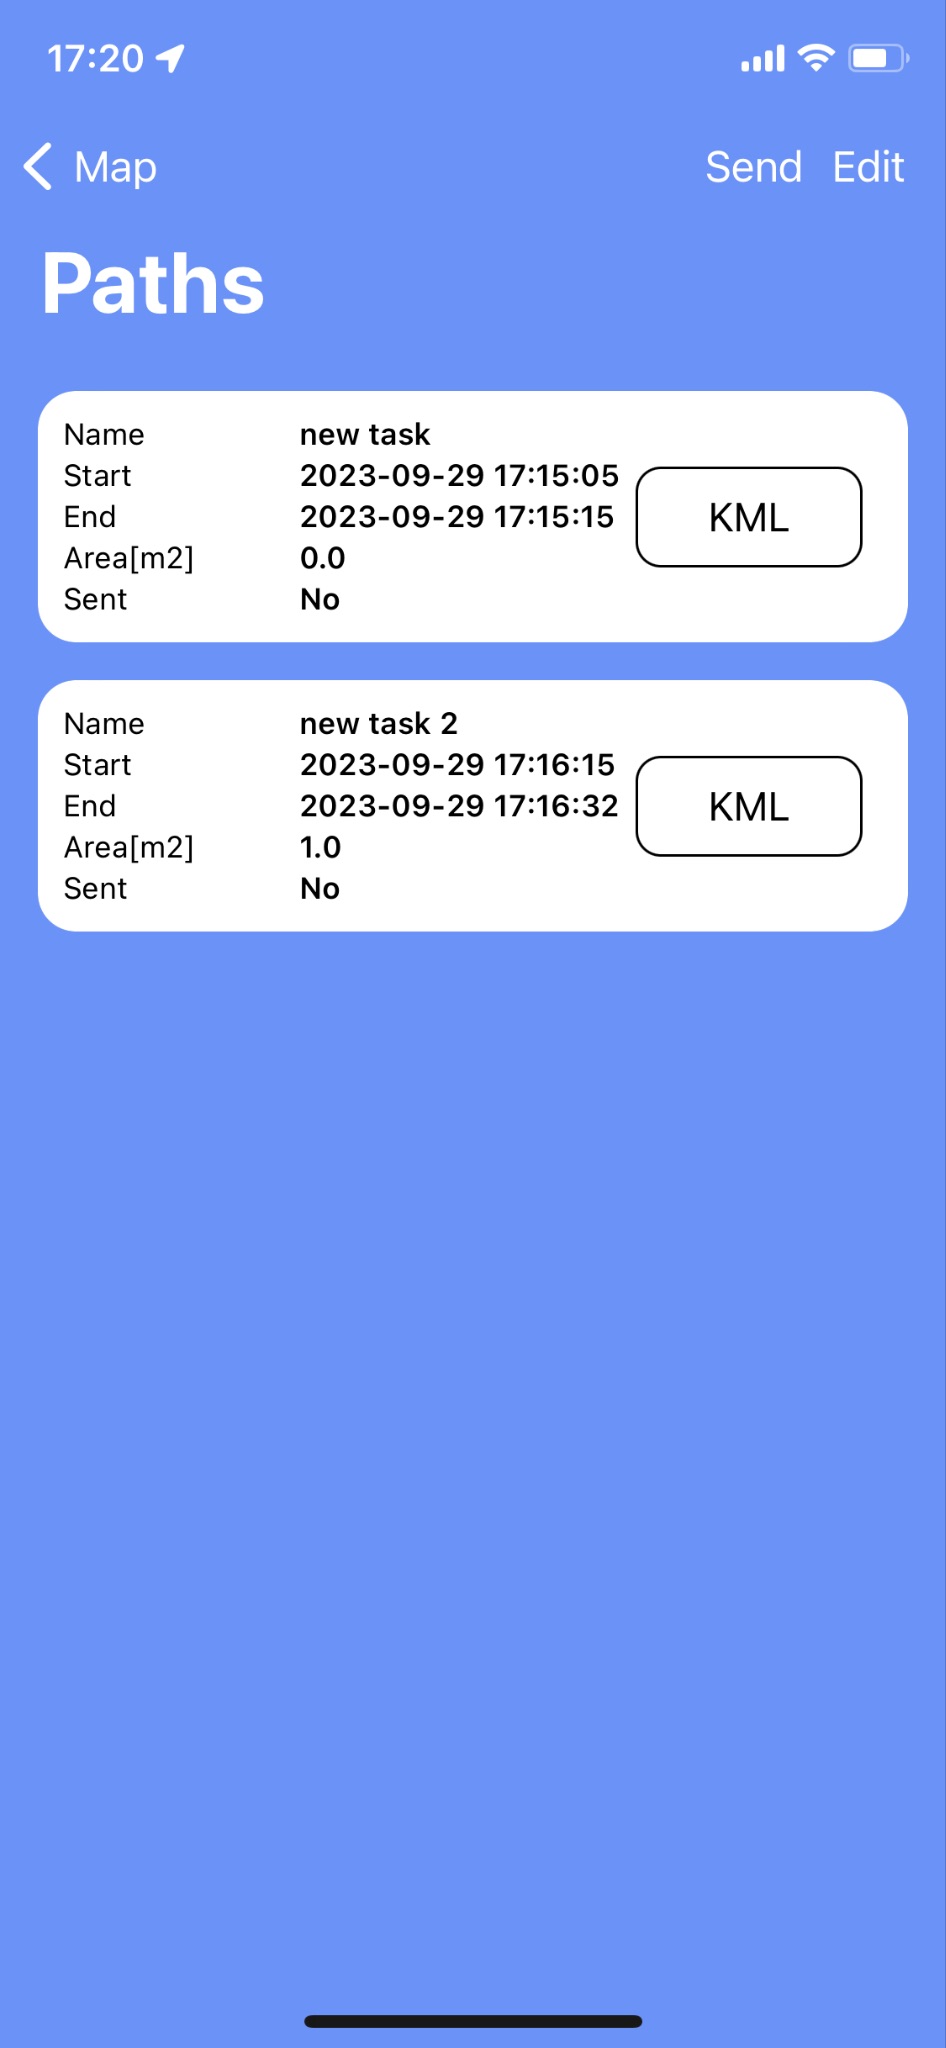
4. Paths List#
The Paths screen shows all recorded paths.
Each entry includes:
- Path ID and name
- Area approximation (m²)
- Export to KML for use in GIS tools such as QGIS, Google Earth, or council planning systems
5. Offline Use#
📶 Even if you are offline, you can:
- Record paths
- Take geolocated photos
This is especially useful when recording walks or trails in areas with poor mobile coverage.
Your data will be stored locally and automatically uploaded once the device is back online.
Next Steps#
- 📱 For detailed mobile features, see Getting Started.